
 繁體中文
繁體中文Support – Admin Console (Win)
Device Management
Device Management (Win)
On the target Windows devices, go to Control Panel > Programmes > highlight eSchoolPadMDM and eSchoolPadAgent > Uninstall > Confirm
ESP MDM needs more development time for such advanced features, please stay tuned for new release.
-
- Go to ESP Admin Console, go to Settings > School Info, tap the Setup Installer Download URL to download the ESPInstaller.msi file.

- Go to ESP Admin Console, go to Settings > School Info, tap the Setup Installer Download URL to download the ESPInstaller.msi file.

-
- On the targeted windows device, execute the msi file.
- Click the Run anyway button if Windows prompts the notice.
- Choose the ESP server location and click Next to proceed
- Acknowledge Terms and Conditions, tap Next button and Install.
- Wait for the installation to complete and will automatically open up ESP agent app when it’s completed.
- On the ESP agent app, click the right bottom Setting icon to enter school alias/school code*
- Tap Allow access to allow ESP Agent on public and private networks
- In ESP Admin Console, select Devices to confirm the device has been added.


ESP MDM supports the following Windows OS:
- Windows 10 Pro (x64)
- Windows 10 Education (x64)
- Windows 10 Enterprise (x64) edition
You can now set a schedule to enable and disable BlackScreen. Simply find the optional “Enable Black Screen” and “Disable Black Screen” in Extra Step in Schedule.
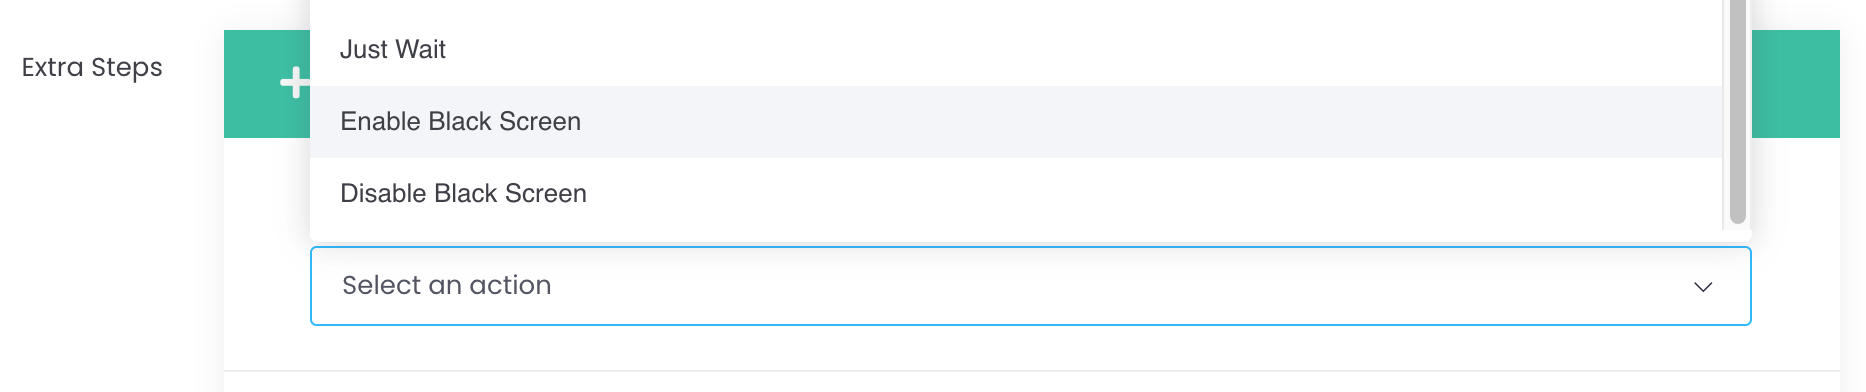
Application:You may consider using this feature as Sleeping mode at night time for BYOD students.
Note:This feature is similar to Single App Lock to ESP (Student), thus involve battery consumption. Recommend connecting to power source while in use of Blackscreen with Schedule.
